Chopper's
Foot Drive
Structural
Assembly
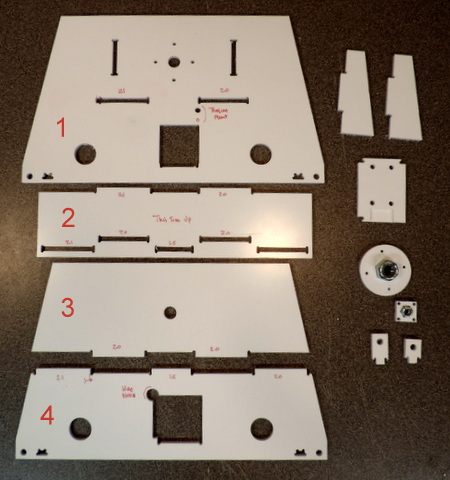
Parts Preparation
In addition to the normal parts preparation for CNC cut parts (removing
flash and tabs from the parts that have been removed from the panels)
there are a couple of suggestions that apply to Structural Asssemblies
as well as suggestions that might make the prep easier for specific
parts. We'll cover that first.
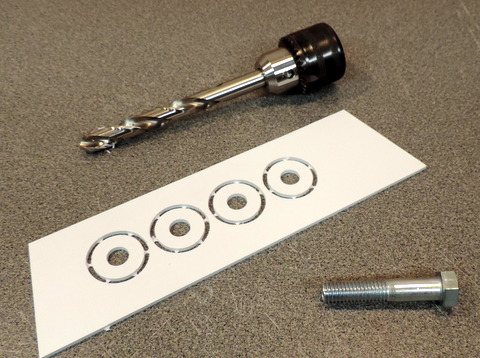
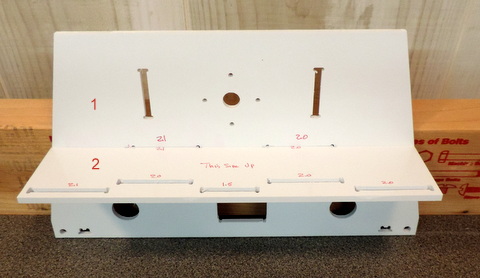
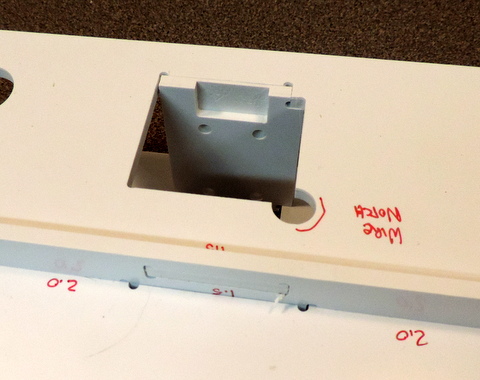
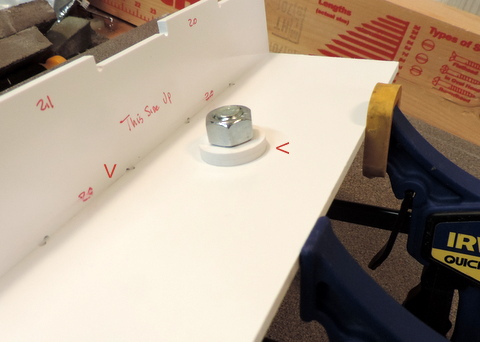
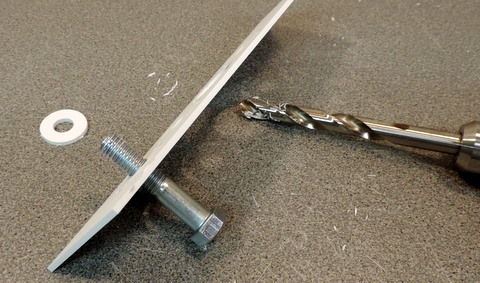
Above
& Left: These are the ??? spacers. One problem is that even
though they have been cut for a 1/2 in bolt the bolt doesn't fit !
|
|
I
enlarged the holes by hand using a drill - do that while the parts are
still in the panel. It's easier than trying to hold the parts with tabs
that might cut your fingers.
|
|

|

|
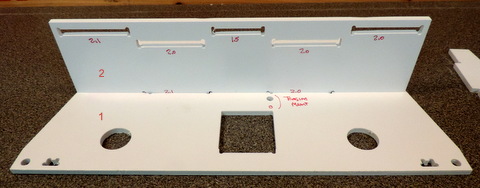
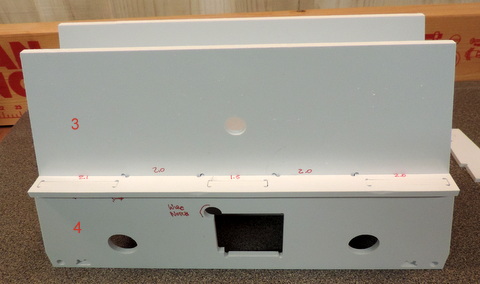
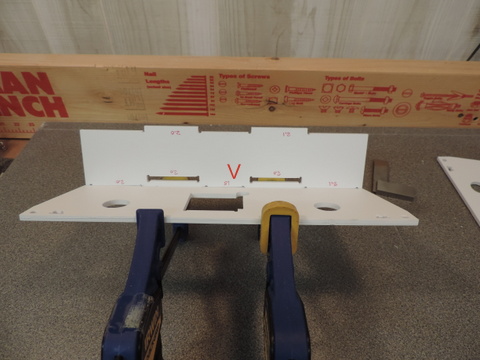
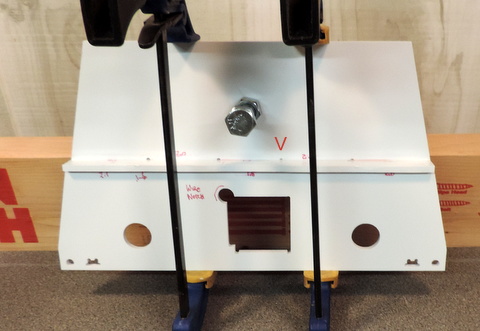
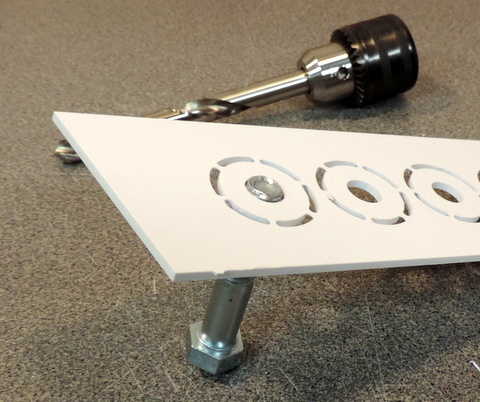
Dry Fit
In
the steps that follow we'll verify the fit of the parts by assembling
but NOT gluing the parts. This is a structural assembly (meaning it's
weight and load bearing) so a tight fit is necessary. The slots are cut
to fit .1875 tabs (the nominal thickness of the styrene sheets).
Unfortunately, not all sheets measure exactly .1875 - the ones I got
for this panel run measured .188. That's just enough to make if
difficult to insert the tabs into the slots. DO NOT try to hammer the
parts together. That causes micro cracks at the corners, When you apply
solvent to the parts the cracks expand and propogate. Instead, file the
slots JUT ENOUGH to get a tight fit and NO MORE. File a little, check
fit, file some more. We are relying on slovent welding for strength.
Tight joints are part of the process.
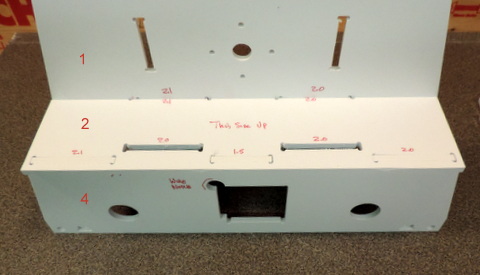
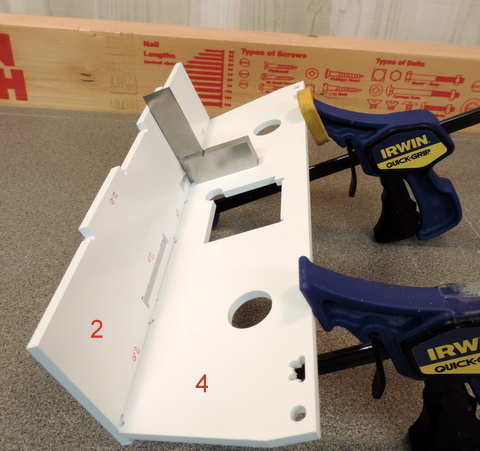
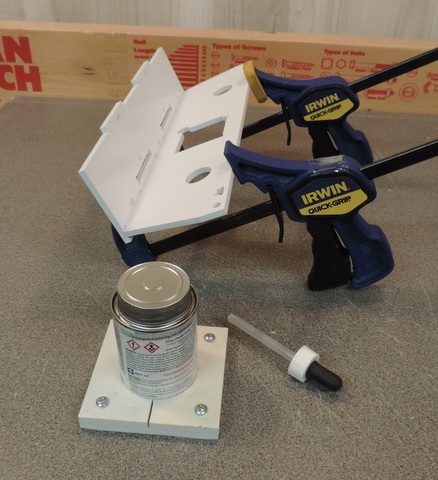
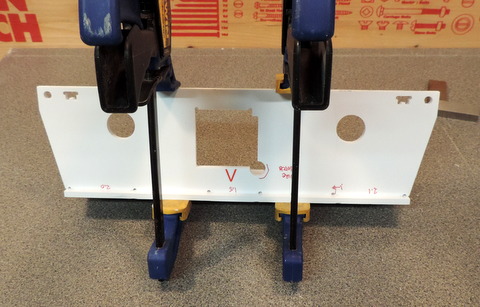
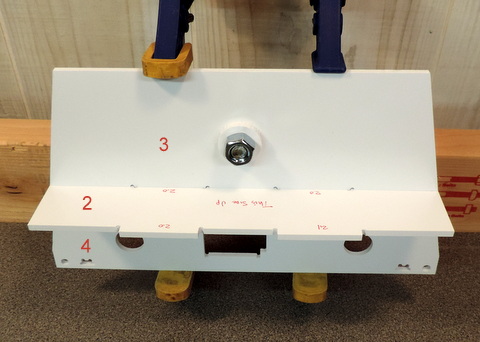
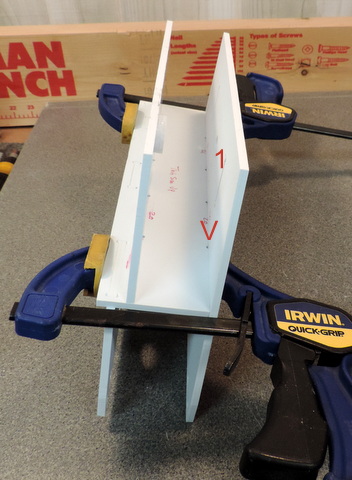
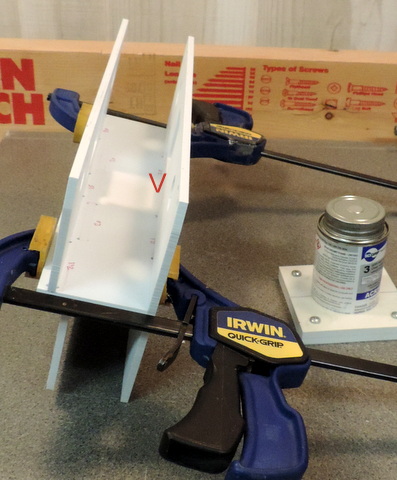
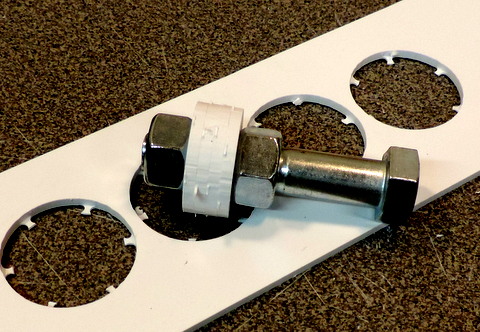
Assembly & Glue Up
In
the steps that follow we'll re-assemble the parts, naturally in a
slightly different order to enable easier clamping. We'll also apply
solvent to BOTH SIDES of the joint being assembled. WAIT for the
solvent to dry on the first side before going on to the second side.
This design is
copyright Media-Conversions LLC and is made available for non-commercial
use only.
Chopper
Home Page